Showing posts with label 3D. Show all posts

Monday, March 3, 2014

Animals and Habitats

Third Grade students have been working with clay animals, they all had to figure out which animal they wanted to create from clay.  After creating their clay animal, students had to research what kind of habitat their clay animal lives in.

Students painted their animals with their local colors (actual color of animal)

This project is great for working with 3- dimensional art and it is especially good for students who work better with 3-D than a normal drawing project.

Alligator


 Working with a paper towel allows students to paint without additional table cleaning and a spot to wipe off their brush

Eagle

Babboon

Pig (eating mud)

Bird

Turtle
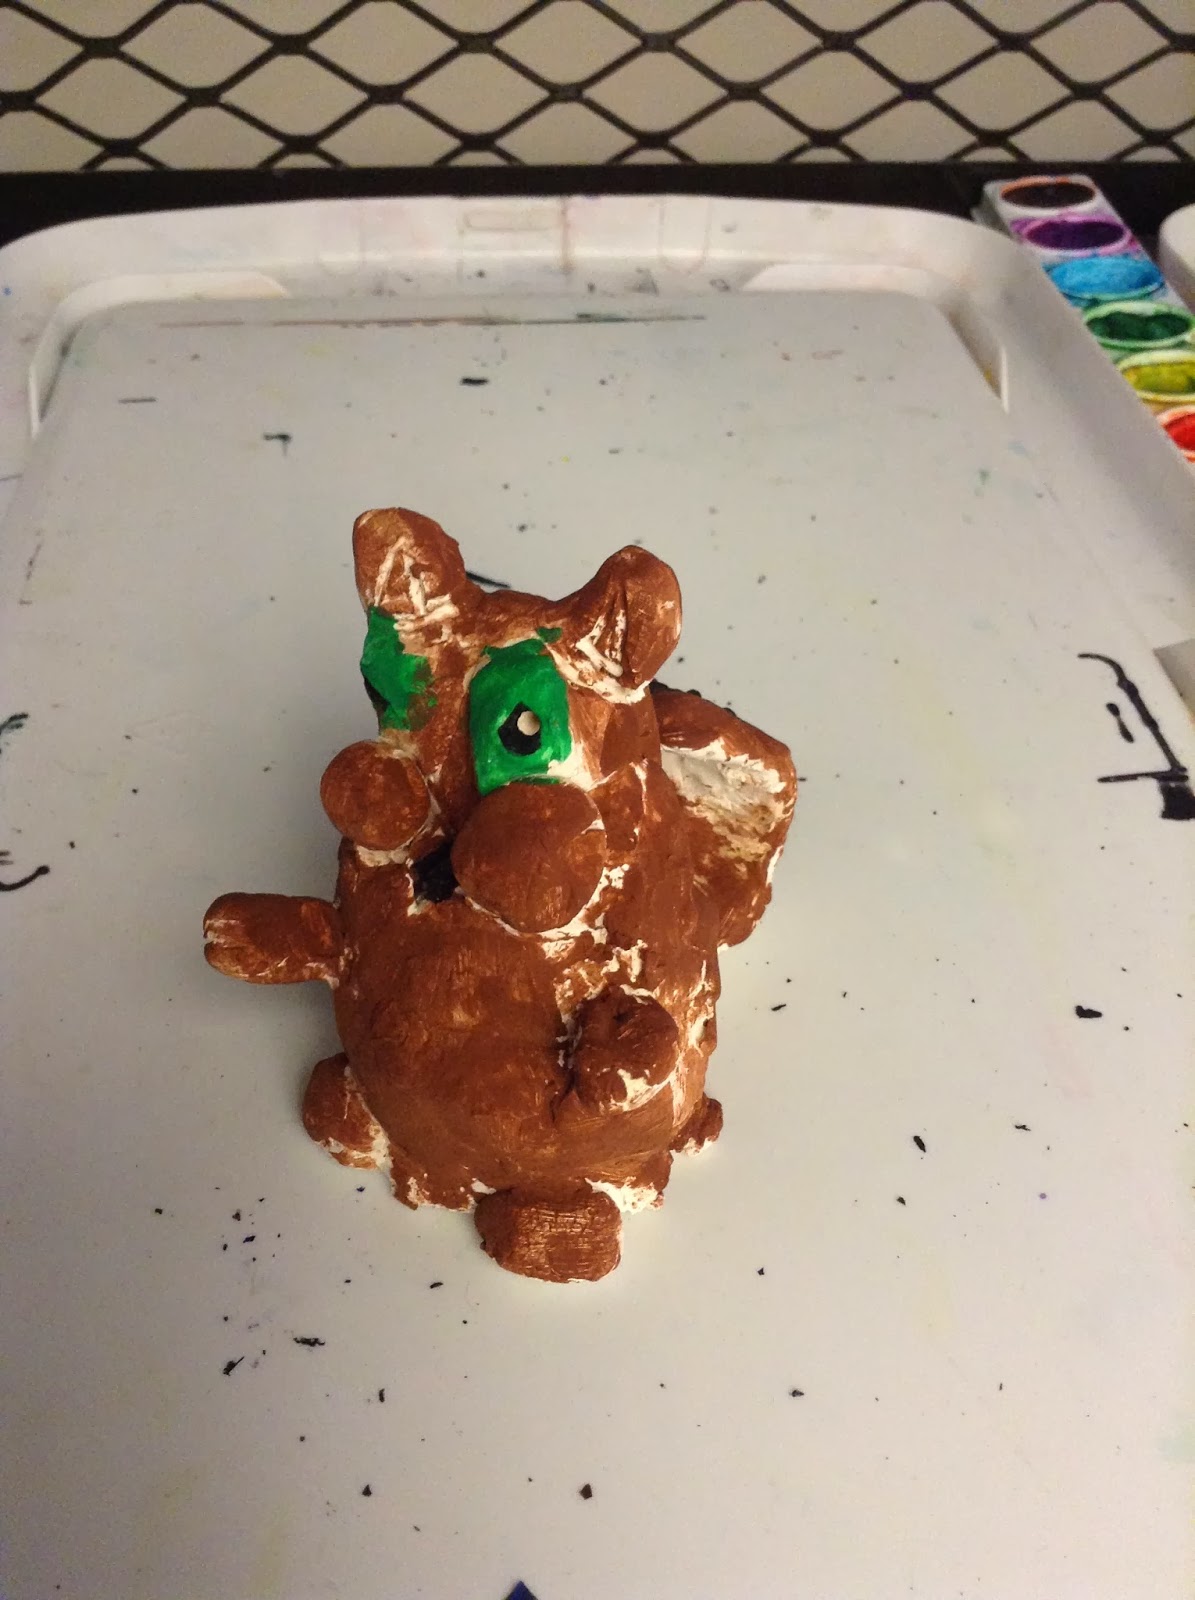
Squirrel

Bird

Hippo


Buffalo

Octopus


Students used a tissue box or shoe box to get the habitats made


Students covered their box in paper, egg cartons, fabric, string, pipe cleaners and more they may have brought from home.


Egg carton rock


Cotton ball clouds


Vines


Underwater (flashlight used to give blue tint)


Mountains from felt

Friday, January 10, 2014

Angry birds pinch pots

First Graders are working on pinch pots right now; thinking about how to make pinch pots more interesting, I looked no further than the most popular "how to draw" book in my collection: Angry Birds.  I wasn't sure how it would work with the first graders adding details with very little clay experience, but I could not be more impressed with my talented artists!


Students all had a small block of clay about the size of their hand, the pounded it into a ball with me presenting how to do this step by step in the front.  After rolling the block into a ball, students pressed their thumbs into the middle, creating a small bowl shape.  They kept pinching the sides til they had a nice thickness all the way around their pinch pot.  After this step, I had students ball up a paper towel and stick it in the inside of their clay pinch pot (this helps the stability when they are adding details)

(Here a student is smoothing out the bottom of their pinch pot/top of their angry bird)

After students have their pinch pot smoothed out we come back into a big group and talk about the most important thing when making clay: Scratch and Attach! (Scratch and attach allows the clay to dry at an even rate and grips the clay together when the clay is in the kiln)

Students add details such as eyes, beak, hair, angry eyebrows using scratch and attach


student using a wooden tool to smooth out the cracks


Some pinch pots after one time through the Kiln


Students will paint them and they will go on display in the hallway.