Friday, December 13, 2013

Frank Big Bear portraits


Fourth grade students looked at the art of Minnesota native artist Frank Big Bear of the White Earth Reservation. We watched this video ( http://www.mnoriginal.org/episode/mn-original-show-206/frank-big-bear/   )and discussed his grid like style, we also looked at his use of complimentary colors to make his art bold and stand out among other artistic styles. Students practiced drawing a face with a grid pattern over the face, and around the head. 


Students used colored pencils to fill in each grid space, they outlined the facial features to make them easy to see.


Thursday, December 5, 2013

White Line Print- Foam Printing

Third graders have been working on printmaking for the last few weeks, when it comes to print, it is one of my favorite subjects to teach.  I love seeing the students figure out how printing works, the image turns out backwards, the transfer of images from the printing block to the paper always is fun to watch.  Students started out with a small sheet of paper, on the paper they were to draw two images of winter activities.  Winter activities are things like snowman, snowball fights, sledding, skiing, hot cocoa, hockey, ice skating, etc.  After students draw a winter activity, they pick one and are given a piece of foam to carve their design into.  Using a pencil, students trace over the image into their foam printing block, after tracing the paper, they make their carve marks deeper using the pencil.

Students tape their carved foam plate to the table, then center a larger piece of white paper over the top, the larger piece of paper is taped to the side to create a hinge, and keep the paper in place for the printing process.


(Student centering paper over printing plate)


(Tape Hinge)

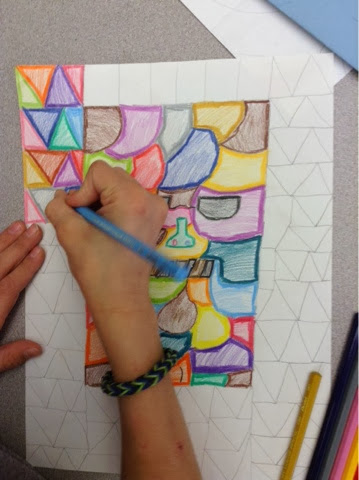
When the paper is taped, students begin by coloring on top of the foam plate with markers, it works best to do a small area at a time, (the longer the marker sits out on the foam before the transfer, the harder it is to transfer to the paper)

(Student adding marker to the printing foam)

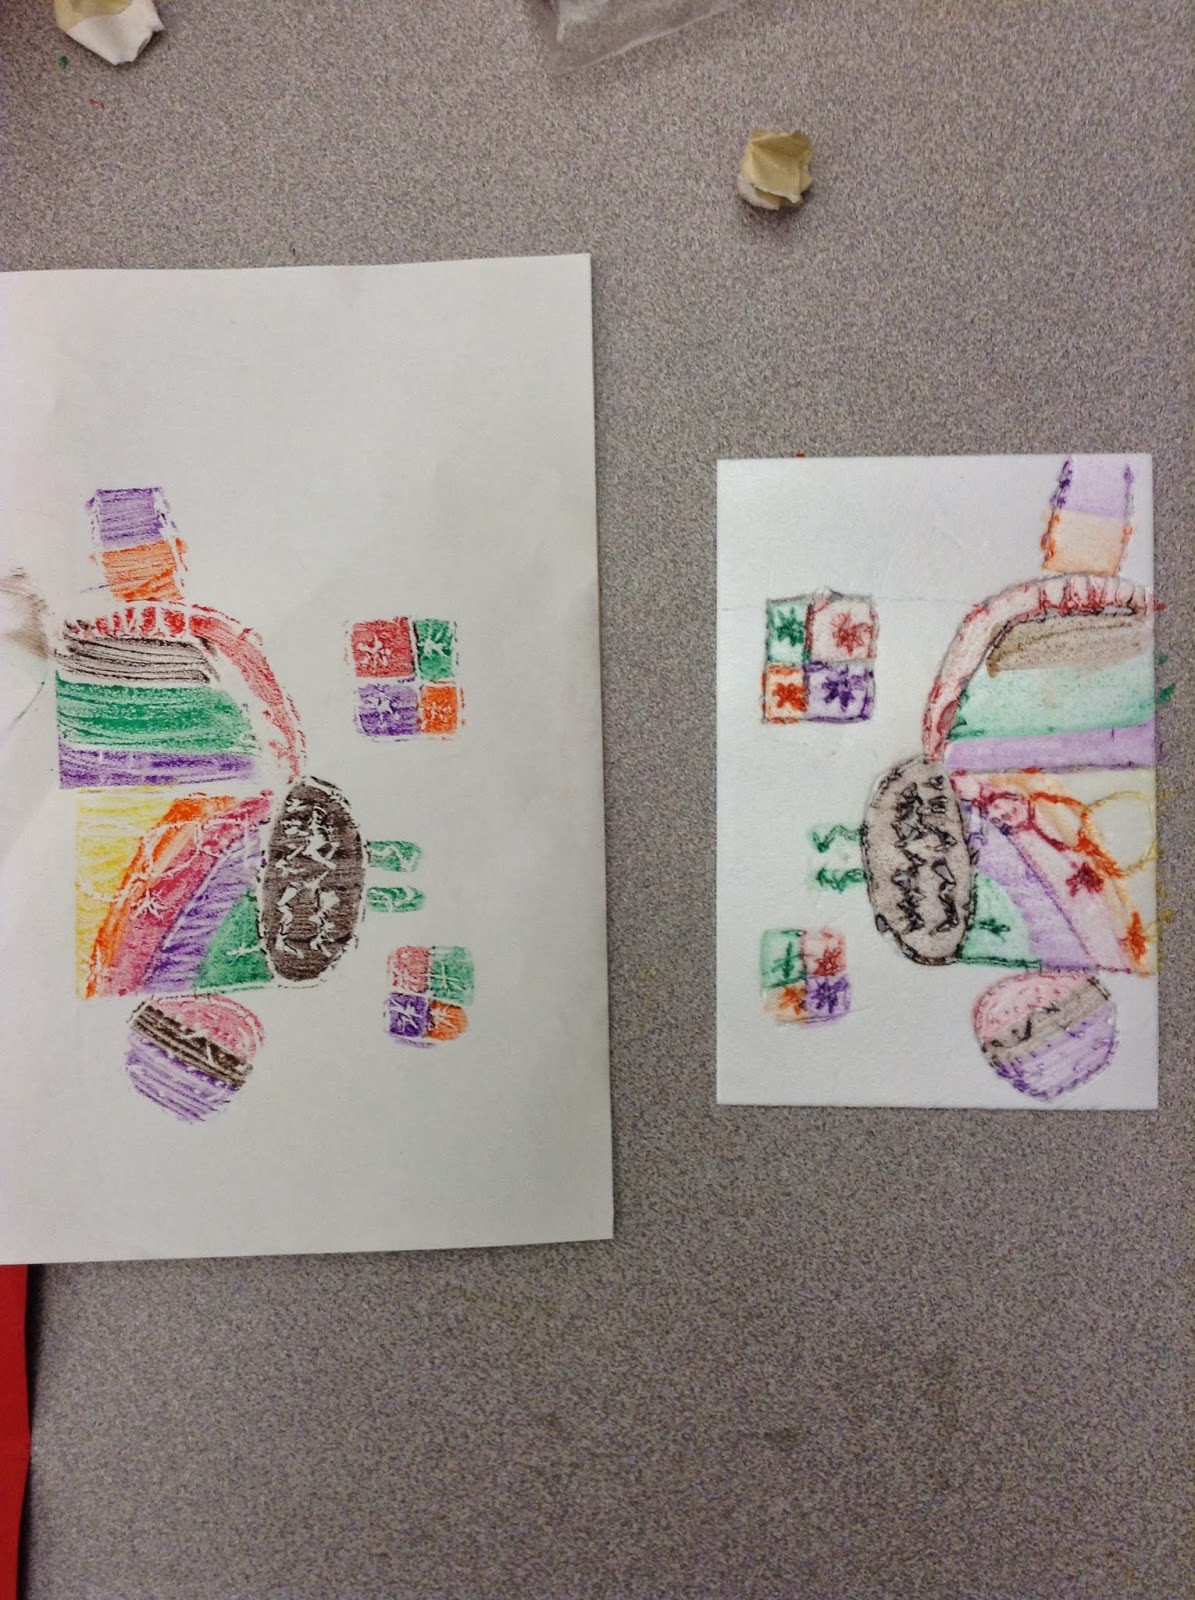
After coloring on the foam, the student folds back the paper and pushes down to transfer the marker to the paper.


When the paper is lifted, a reverse image appears!


Prints are signed and numbered with a pencil


Wednesday, November 27, 2013

4th grade Olympic Medal Slab Project


With the Winter Olympics around the corner, I have started planning ahead for some Olympic related art activities.  The best part about the Olympic games for the competitors is the Olympic medals. I decided it would be best for students to brainstorm things they excel at and things that they can improve on; after they create a list of strengths and weaknesses, students will narrow it down to one of each, then designing a gold medal for their strength and a silver medal, for the area where they feel they can improve. 


Students will roll out a long slab and cut out 2 medal shapes.  The shapes should be smoothed out along edges and on the surface to create a smooth surface to draw the design. Students will use a wooden tool or toothpick to draw their medal designs and outlines.  I used old marker caps from dried out markers to create the Olympic logo.  I found it helpful to have a damp paper towel on hand as the clay tends to ball up on the end of the toothpick, after every few lines are drawn, wipe off the toothpick with the paper towel.  After the drawing is complete, have students cut a small slit above the circular medal shape, this will be where the crepe paper/ribbon is attached. After the kiln firing, students will paint 1 medal gold and 1 silver.  This lesson is a good one because it asks students to figure out areas they are successful and areas in which they can improve.


You will need:
Canvas squares/plastic bags
Clay
Crepe paper/Ribbon for the strap to hold the medal
Marker caps/chap stick caps for olympic rings
Medal shape cut outs (I used yogurt containers and tops to make cut outs)
Rolling pins
Wooden tool/toothpicks


Yogurt cup or caps work great for cutting out medal shape, be sure to leave room for the ribbon to be attached.

Cap for Olympic logo and wooden tool for drawing.


Here is an example of a similar finished product

Thursday, November 21, 2013

Coil


5th Graders have been working on learning the coil process in clay.  Since students at Hassan have art only once every 5 days; it is difficult to finish clay in 1, 60 minute class period. The clay would be too dry by the time the next art class rolls around, so students spend one class with the clay practicing rolling out coils, scratch and attaching the coils, as well as decorating the coils.  The practice time gets the ideas flowing and allows students to be confident enough in their coils to create something great!


Students had to design a basic and advanced drawing of their coil sculpture (starting with the most basic for time purposes, then moving onto their advanced drawing if they had the time.) The practice time and proposal drawings helped them visualize how long it would take to create a coil sculpture.


After the clay gets to the Bisqueware stage (Fired once in the kiln) the students are able to glaze the clay with their choice of 3 colors, here are some student examples.


First grade end of trimester


First graders finished painting their primary and mixed secondary colored fish, after finishing the painting, they outlined in sharpie, cut out seaweed and glued it on, these are three of the finished examples.


First grade learned about Mosaic tile art and made fall, warm colored trees.  They ripped brown paper for the tree and branches and glued them to look like a realistic tree.


The following week, students reviewed the warm colors and looked at the trees outside our art room window.  They continued in the mosaic style ripping the red, yellow, and orange paper into a leaf pile, then glueing the leaves onto the tree, filling the space with bright warm colored leaves.


 Two finished examples.

Wednesday, October 23, 2013

Drawing from observation/Contours

 Third Grade learned about contour lines, which focus on the outline and major lines of objects and not on shading or details.  They used that knowledge of contour lines to draw from observation and drew their shoes.  Drawing shoes helps students focus on their outlines as well as shapes that are used in design.


Students focusing on shoes while moving eyes between shoes and their drawing.

3rd Grade Pastel Colorwheel


Third graders learned how to mix INTERMEDIATE colors this week in art.

Intermediate colors are made by mixing a primary color with a secondary color next to it on the color wheel.  Students used Primaries and Secondaries to draw, label and color the color wheel, they also learned how to blend the oil pastels using their fingers or a paper towel.