Showing posts with label primary color. Show all posts

Friday, November 21, 2014

Texture

Second graders have been learning about texture in art.  Students learned the two kinds of texture; visual texture, and actual texture (tactile texture.) We practiced finding texture around the art room.

 the walls, erasers, shoes
 Step stool

We also read the book "Where the Wild Things Are," and learned about different kinds of visual texture and practiced making textures on a monster creation of our own. Each monster had to have geometric shaped eyes, organic shaped mouth, and an organic shaped body.

 After drawing monsters, textures and details; students outlined with sharpie, then painted with primary colors and even practiced mixing secondary colors with a new medium, watercolor

 Students cut their monsters and prepared to make an abstract background.  To learn about abstract art, we studied the artist Kandinsky and his use of organic and geometric shapes.


 Students cut organic shapes they had previously painted with secondary colors to use as the background for this monster.


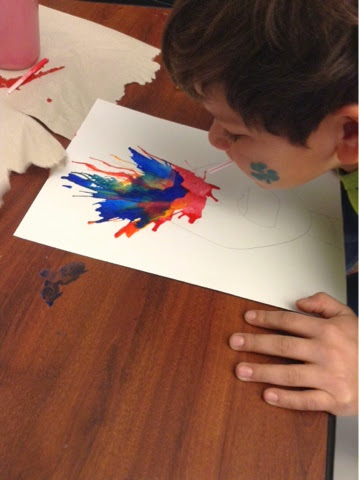
 Here are a few of the in-progress examples


Monday, March 17, 2014

The scream

First graders have been working on portraits. It works well to do several styles of portraits for practice, this portrait is based on the piece called "The Scream" by Edvard Munch. 


We talked about the use of thin and thick line as well as an interesting background. Students discussed the warm and cool colors and figured out which colors were primary and which were secondary colors.

We also talked about mixing primary colors to get secondary colors.  I'm sure you've seen images similar to this on Pinterest, here is the step by step process.


Students draw their face with a wide mouth and no hair, they must color their shirt with either warm or cool colors, and outline their face with a sharpie.


I watered down paint and filled these tubes with the primary colors.


I cut up straws for students to use to blow the paint. I suggest only cutting straws in half so students don't have to get so close to the paper with their face.


Students lined up one at a time and I would use a straw to draw the paint from the tube and drip it onto their paper. After each color was dropped onto the paper, students blew the paint away from their face.  Make sure to drip the paint above the hair line to avoid paint in the eyes, some students were ok with paint in front of their face for the "messy hair day" look.


As the paint is blown across the page, the colors mix and secondary colors are achieved!


Here are a few finished examples, students blot the paint and color their shirts after they go to their seats.  Next week we will finish the backgrounds.